
Creating custom activewear involves much more than choosing a color and adding a logo to a pair of leggings. A finished garment has to look good, fit correctly, move comfortably, handle sweat, and remain durable after repeated washing and training. Every part of the process, from the first design sketch to final packaging, can affect the quality of the finished product.
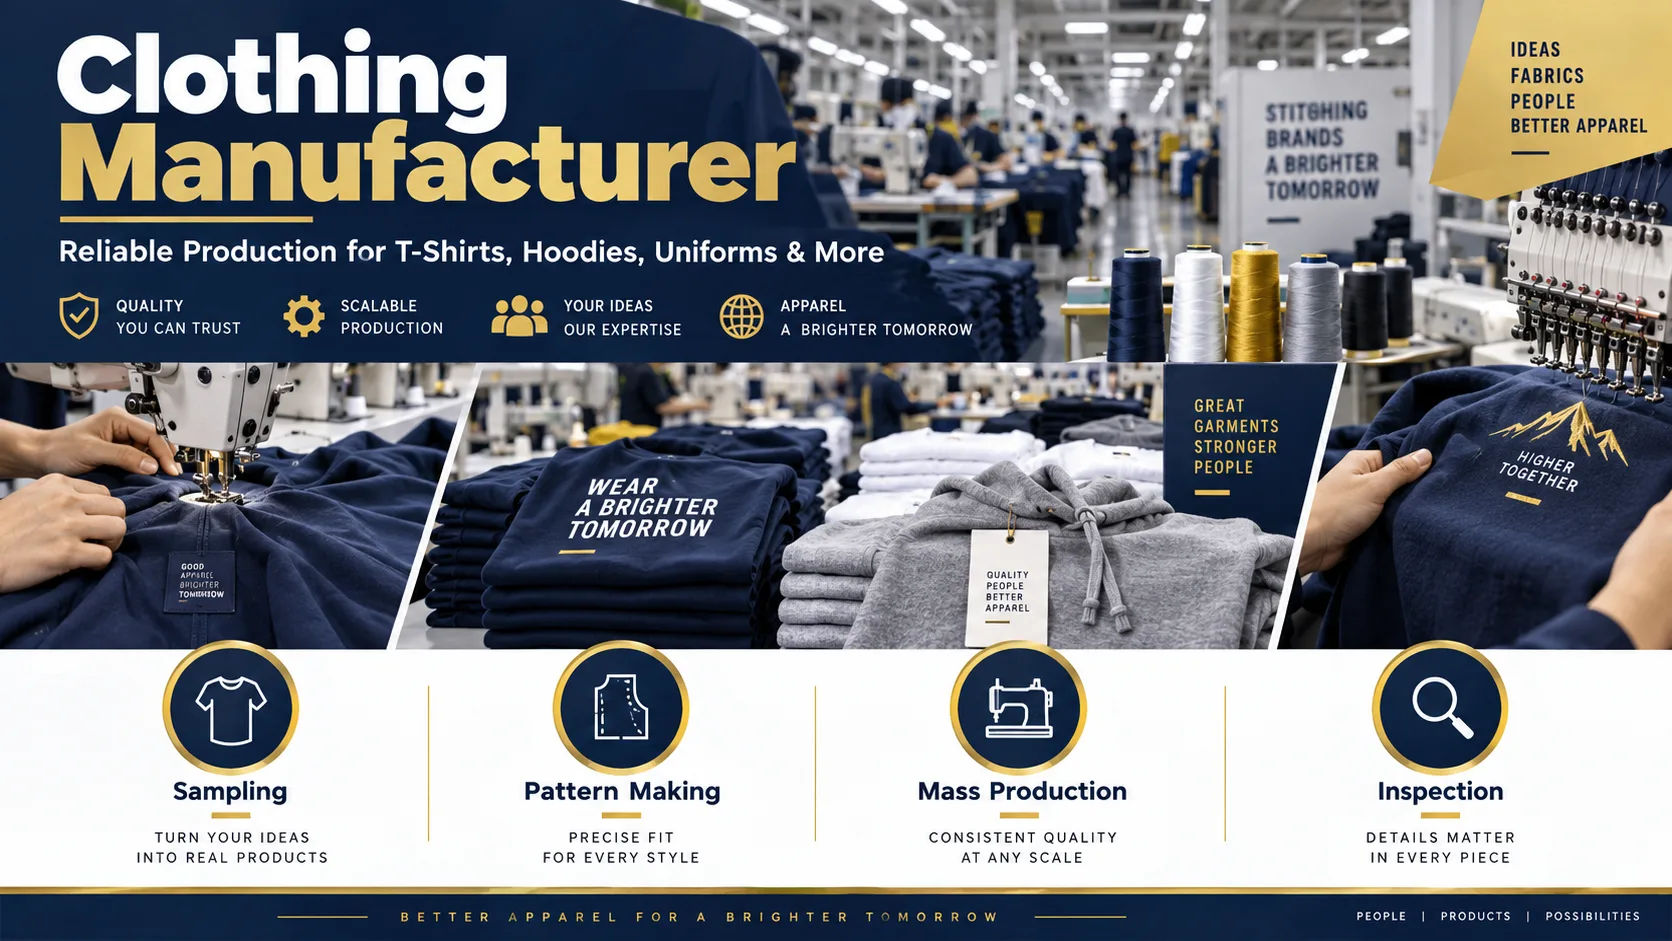
Whether the clothing is being made for a sports team, fitness brand, gym, school, company, or personal project, manufacturers generally follow a series of carefully planned steps. Understanding these stages makes it easier to know what happens behind the scenes and why good activewear can take time to produce.
Step 1: Defining the Purpose of the Activewear
The first step is deciding exactly how the clothing will be used.
Activewear designed for running may require different materials and construction than clothing intended for yoga, weight training, cycling, football, or general gym workouts. The expected level of movement, sweat, friction, and stretching all influence the design.
For example, running clothing may need lightweight and highly breathable fabric. Compression garments may require stronger stretch and recovery. Yoga leggings usually need excellent flexibility and coverage during deep stretches.
This is why manufacturers need more than a general idea such as "make a sports shirt." They need to understand the activity, target customer, climate, fit preference, and performance requirements.
Step 2: Creating the Design
Once the purpose is established, the design is developed.
This stage determines the garment's overall appearance, including its shape, colors, panels, graphics, branding, pockets, seams, trims, and other details.
A designer may begin with sketches or digital drawings. Modern production often uses specialized software to create detailed technical designs that show how each section of the garment will be constructed.
For a brand, this is also where visual identity becomes important. Logos, brand colors, typography, patterns, and placement need to work together without interfering with comfort or garment performance.
Design is not purely about appearance. A visually impressive design can still fail if seams rub against the skin or if decorative elements restrict movement.
Step 3: Selecting the Fabric
Fabric selection is one of the most important parts of making custom activewear.
Sports garments commonly use synthetic fibers such as polyester, nylon, and elastane. Different blends provide different combinations of stretch, softness, durability, moisture management, and recovery.
Elastane, often known by brand names such as spandex, is commonly included when significant stretch is required. Nylon can provide a smooth feel and good durability, while polyester is widely used because it can be lightweight, durable, and suitable for moisture-management finishes.
The weight of the fabric matters too. Lightweight fabric can feel comfortable during intense exercise, while heavier material may provide more coverage and structure.
Manufacturers also consider whether the material is opaque enough for leggings, whether it becomes see-through when stretched, how quickly it dries, and how it behaves after washing.
Step 4: Choosing Colors, Prints, and Branding
After the main fabric is selected, the visual details are finalized.
There are several ways to add designs to activewear. Depending on the fabric and production requirements, manufacturers may use methods such as screen printing, sublimation, heat transfer, embroidery, or specialized garment printing.
Sublimation is particularly common for some polyester-based sports garments because the design can become part of the fabric rather than sitting as a thick layer on top. This can be useful for detailed patterns and large graphics.
The appropriate decoration method depends on the garment, fabric composition, design complexity, order quantity, and desired durability.
Logo placement also requires practical consideration. A logo placed directly over a highly flexible area may distort during movement. Similarly, heavy embroidery may not be comfortable on lightweight performance garments.
Step 5: Developing the Pattern
A garment pattern is essentially the blueprint used to cut the fabric.
The pattern determines the dimensions and shapes of individual pieces, such as the front, back, sleeves, waistband, pockets, and side panels.
Pattern development is especially important for custom activewear because sports garments need to accommodate movement. The designer must consider how the material stretches and how the garment sits on the body during exercise.
A leggings pattern, for example, cannot simply be designed like a pair of ordinary trousers. The pattern needs to account for stretching around the hips, knees, and thighs while maintaining the intended fit.
Manufacturers may create patterns digitally and adjust them for different sizes.
Step 6: Creating a Size Range
If the garment will be sold or distributed to different people, the original pattern needs to be graded into multiple sizes.
This process is called grading.
The manufacturer adjusts the dimensions of the pattern to create the required size range while maintaining the intended proportions and fit.
Good grading is more complicated than simply increasing every measurement by the same amount. Bodies do not grow in perfectly uniform proportions between sizes.
For this reason, experienced pattern makers pay attention to areas such as chest, waist, hips, shoulder width, sleeve length, rise, and inseam.
A garment can have excellent fabric and stitching but still feel uncomfortable if the sizing system is poorly developed.
Step 7: Making the First Sample
Before large-scale manufacturing begins, a sample garment is usually produced.
The sample gives everyone an opportunity to examine the design as a physical product rather than relying only on drawings or measurements.
The sample is checked for appearance, fit, fabric behavior, seam placement, logo positioning, and overall construction.
For custom activewear, this stage can reveal problems that are difficult to identify on a computer screen.
Perhaps the waistband rolls during movement. Maybe a sleeve feels too tight. A logo might be positioned incorrectly, or a seam may create unnecessary friction.
These issues can be corrected before the manufacturer commits to a larger production run.
Step 8: Testing the Fit and Movement
The sample should be tested through the types of movement the garment is designed to support.
A pair of training shorts should be tested while bending, squatting, running, and moving through a normal workout. A sports bra needs to be assessed for support and comfort. A cycling garment has different requirements from a loose gym shirt.
Fit testing helps identify problems such as excessive tightness, unwanted movement, bunching, exposed areas, or restricted motion.
Stretch testing is also important. A garment may look perfect while standing still but behave differently when the wearer moves.
This is one reason physical testing remains important even when sophisticated digital design software is used.
Step 9: Revising the Sample
The first sample is rarely the final version.
Manufacturers may make several changes after testing. The pattern might be adjusted, seams repositioned, fabric changed, or the waistband redesigned.
Sometimes a small adjustment can make a major difference to comfort.
For example, changing the rise of leggings by a modest amount can improve how they sit during exercise. Adjusting sleeve dimensions can provide greater freedom of movement.
The goal is to reach a sample that accurately represents the desired final product before bulk manufacturing begins.
Step 10: Preparing the Production Order
Once the sample is approved, the manufacturer prepares the production specifications.
These specifications normally include fabric type, colors, measurements, size breakdown, stitching requirements, decoration details, labels, packaging instructions, and the required quantity.
At this point, accuracy is extremely important.
A small mistake in the production specifications can be repeated across hundreds or thousands of garments. Confirming every detail before cutting begins can prevent expensive corrections later.
Step 11: Cutting the Fabric
Once the materials are ready, fabric is prepared for cutting.
Large quantities of fabric may be layered and positioned according to the patterns. Cutting equipment then separates the individual pieces required for production.
Efficient fabric placement matters because poor cutting arrangements can create unnecessary waste.
Manufacturers also need to consider the direction of stretch. Many activewear fabrics stretch differently across different directions. Cutting a piece incorrectly can change the way the finished garment fits and performs.
For printed fabrics, pattern alignment may also need to be carefully controlled.
Step 12: Sewing and Assembly
After cutting, the individual fabric pieces move into production.
Workers or automated equipment assemble the pieces using appropriate sewing techniques and machines.
Activewear often requires specialized stitching because the garments need to stretch without seams breaking.
Flat seams may be used in some designs to reduce irritation against the skin. Overlock stitching can help secure fabric edges, while coverstitching is often used for hems and other areas where stretch is required.
The exact construction depends on the garment.
A high-performance training top may require different sewing techniques from compression leggings or a sports bra.
Step 13: Adding Logos, Labels, and Other Details
Branding and finishing details are added during the appropriate stage of manufacturing.
This can include neck labels, care labels, size labels, logos, printed graphics, reflective elements, drawstrings, elastic components, zippers, or pockets.
The order of these operations varies according to the manufacturing method.
For branded custom activewear, consistency is especially important. Logos should have the correct dimensions, positioning, and appearance across the production run.
Labels also need to contain accurate information, such as size and care instructions.
Step 14: Quality Control
Quality control takes place throughout manufacturing rather than only at the very end.
Garments may be inspected for stitching problems, incorrect measurements, stains, fabric defects, printing errors, loose threads, damaged components, and inconsistent colors.
Measurements can also be compared against approved specifications.
For activewear, quality control should consider function as well as appearance. A garment can look attractive but still be unsuitable if the seams are weak or the fabric does not provide the expected stretch.
Good inspection helps identify problems before products reach customers.
Step 15: Washing and Durability Checks
Depending on the product and manufacturer's process, samples or production garments may be subjected to washing and durability testing.
Washing can reveal issues that are not obvious when the garment is new.
Fabric may shrink, colors may change, prints may crack, or elastic components may lose performance. Repeated stretching can also reveal weaknesses in seams or fabric recovery.
This is particularly important for sports clothing because activewear is typically washed frequently.
A garment intended for regular training needs to survive repeated use rather than simply look good when it comes out of the package.
Step 16: Final Inspection and Packaging
After production is completed, garments undergo a final inspection.
Products are checked against the approved specifications, sorted by size and style, and prepared for packaging.
Packaging may include folding, tags, individual bags, boxes, or other materials depending on the order requirements.
The finished products are then prepared for delivery.
At this point, the manufacturing process is essentially complete, but careful organization remains important. Incorrect quantities or mixed sizes can create problems even when the garments themselves were manufactured correctly.
How Long Does It Take to Make Custom Activewear?
The production timeline can vary considerably.
A simple design with readily available materials may move relatively quickly from sampling to production. More complicated designs, custom fabrics, multiple colorways, extensive testing, or large orders can take longer.
Sampling is often one of the most important stages affecting the timeline. If several rounds of revisions are required, production naturally takes longer.
Material availability can also have a major impact. If a specific fabric, color, zipper, elastic, or printing method needs to be specially sourced, additional time may be required.
Planning early gives manufacturers more room to solve unexpected problems without rushing the final production.
What Makes High-Quality Custom Activewear?
Quality comes from the combination of several factors rather than one particular feature.
Good fabric matters, but excellent fabric cannot compensate for poor pattern development. A well-designed pattern can still fail if the stitching is weak. Strong construction cannot fix an inaccurate size chart.
The best custom activewear balances comfort, performance, appearance, durability, and fit.
Attention to small details is often what separates an average garment from a reliable one. Seam placement, waistband construction, fabric recovery, stitching, printing, and sizing all contribute to the final experience.
It is also important to remember that more expensive materials do not automatically guarantee a better garment. The fabric has to be appropriate for the intended use, and the manufacturing process must be suited to that fabric.
Common Mistakes During the Manufacturing Process
One common mistake is focusing heavily on appearance while ignoring performance.
A design may look impressive in a product image but become uncomfortable during actual exercise. This is why movement testing should happen before mass production.
Another mistake is skipping or minimizing the sampling stage.
Producing a large quantity before properly testing the design can make corrections expensive. A sample provides an opportunity to discover problems while they are still manageable.
Poor communication can cause problems as well. Vague instructions about colors, measurements, logos, materials, or stitching can lead to results that differ from expectations.
Finally, choosing materials based only on price can create problems with durability and comfort. The cheapest fabric is not necessarily the most economical choice if garments wear out quickly.
Why the Manufacturing Process Matters
Every stage contributes to the final garment.
The initial design determines what the product is supposed to accomplish. Fabric selection determines much of its feel and performance. Pattern development influences fit. Sewing determines structural strength. Printing and finishing create the final appearance. Quality control helps ensure consistency.
Understanding these steps also explains why professional custom activewear production cannot be treated like simply printing a logo onto an existing shirt.
There is a complete product-development process behind a well-made garment.
For businesses and organizations, understanding that process can make communication with manufacturers much easier. It also helps buyers ask better questions about samples, materials, sizing, production timelines, and quality standards.
Conclusion
Making custom activewear is a detailed process that combines design, textile selection, pattern development, sampling, testing, manufacturing, and quality control. The process begins by defining how the garment will be used and ends with final inspection and packaging.
The most important stages are not necessarily the most visible ones. Fabric selection, pattern accuracy, stretch behavior, seam construction, and sample testing all have a major influence on how the finished garment performs.
A strong design is only the starting point. The garment must also fit correctly, move naturally with the body, withstand repeated exercise, and maintain its appearance through regular use and washing.
For that reason, good manufacturing involves testing and refinement rather than rushing directly from an idea to bulk production. Taking time to develop the sample, check movement, correct the pattern, and inspect the finished garments can prevent costly mistakes.
Ultimately, successful custom activewear is the result of many small decisions being made correctly. When design, materials, construction, and quality control work together, the result is clothing that does more than look professional. It feels comfortable, performs during real activity, and is built to handle the demands for which it was created.